Create a template for a formal letter to some government authority.
Procedure (Steps)-
1. Type a letter in writer which you want to be a template.
58/109,
Sreevatsa Residency
G
N Mills Road
Coimbatore
– 641025
12/12/2021
The
Inspector of Police
D
1 Police Station
K
V Palayam
Coimbatore
– 641021
Subject:
Request for registering an FIR regarding my stolen mobile phone
Sir/Ma’am,
I
am Aarathy Santhosh, a resident of G N Mills Road, Coimbatore. I am
writing this letter to report to you about the loss of my phone. My
phone was stolen when I was travelling by bus (Bus No. 32 A) from
Gandhipuram to Thudiyalur today, at around 8:30 am. My phone is a
Vivo V15 Pro phone with a removable blue matte back case. My mobile
number is xxxxxxxxxx, and the IMEI number of my phone is
155612459875612. The phone is worth forty thousand rupees.
I
request you to kindly register the complaint and look into this
matter as soon as possible. I have already sent in an application to
block my mobile number so that whoever took my mobile would not be
able to make any inappropriate use of it. Please do the needful.
You
can contact me on xxxxxxxxxx or via email (email
id:name.123@email.com). Please feel free to get in touch with me
whenever required.
Looking
forward to a positive response from you soon.
Thank
you for your time and consideration.
Yours
sincerely,
Signature
of the sender
xyz
2. Go to File Menu and select Templates, then select Save option.
3. Type the name of Template "FIR" Using My Template option. Then click on OK. This letter template will be used to type letter for Police station.
4. To use this template, go to FILE menu, select NEW option, then select Templates and Documents option.
5. Select Templates , then select My templates, then select FIR. Then click on Open option. and use it,
Tahhya Company has offices in four zones of India: North, South, East and Central Zones. The company maintains quarterly report of Revenue, Expanses and profits as shown below.
Considering that four sheets store data for four quarters of the company. Prepare a consolidated data sheet that shows the summery report for the Tahya Company.
Procedure (Steps)
1. Create four sheets (Sheet 1, Sheet 2, Sheet 3 and Sheet 4) containing the following data.
2. Create one more Sheet 4 for consolidation process. So copy the format in Sheet 4. Leave space for Data. Then go to Data Menu and select Consolidation option.
3. Select SUM Function. To select first source data range, click on shrink.
4. Select first source data range from sheet 1. Then click on add.
5. Similarly select other three more source data range from sheet2, sheet3 and sheet 4. And select the Target range also from sheet 5. At last click on OK button.
6. Now you can see the consolidated data at sheet 5.
There are three Cities Amritsar, Gajraula and Moradabad. In the spreadsheet, Sales of different products is given. Find
(i) Zone wise sales subtotals.
(ii) Product wise Sales subtotals.
Objectives: To know and understand about the "Subtotals" in Calc.
Hardware & Software required: Computer system, Windows 7 or more (operating system), Open Office Calc.
Procedure:
Steps:-
Step 1- Create the following spreadsheet contains three columns City, Product and sales.
Step 2- Select range of cells. Go to Data menu, then select Subtotals option.
Step 3- It will open Subtotals dialog box, Select Group by-City, and Select the value sales. Use function SUM. click on ok.
Step 4- Now Calc will calculate the subtotals as City wise Sales Subtotals.
Step 5- Now again follow Step 3 again. Group by Product and select the value Sales. Use function SUM. click on ok.
Step 6- Step 4- Now Calc will calculate the subtotals as Product wise Sales Subtotals.
See this video to know more....
ASSIGNMENT 3- Scenarios
Manish is planning to take loan from Punjab National Bank. He want to check what-if he go for Rs. 5000 or Rs. 1000. In both cases, which interest will be easy for him to payback to bank.
Objectives: To know and understand about the "Scenarios" in Calc.
Hardware & Software required: Computer system, Windows 7 or more (operating system), Open Office Calc.
Procedure:
Steps:-
Step 1- Enter Principal, Rate and Time and keeping the formula
S.I = P x R x T/100
Find out the Simple Interest.
Step 2- Select data, go to Tool menu and select Scenarios option.
Step 3- Type the name of Scenario name. Select the border color. Then Ok.
Step 4- First Scenarios is ready.
Step 5- Now change the value of P as RS. 1000. Then select the data. Again go to Tool option, select Scenarios option. Type the name of Scenarios and border color. Then OK.
Step 6- Now Bothe Scenarios are ready with different colors. Click on arrow and see both scenarios.
See this video to learn more.
ASSIGNMENT 4- Goal Seek
See the following spreadsheet. We are using the values of Principal, Rate and Time as input and finding the output simple interest using formula.
Now if we want simple interest as Rs. 500, the what will be the Time?
Objectives: To know and understand about the "Goal Seek" in Calc.
Hardware & Software required: Computer system, Windows 7 or more (operating system), Open Office Calc.
Procedure:
Steps:-
Step 1- Type the above data and find simple interest using formula. Select the data and go to Tools and select Goal Seek option.
Step 2- Enter Cell address of formula cell in Formula cell box. Fill Target Rs. 500 as interest. Enter Cell address of Time. Then Ok.
Now as were given output Rs. 500 (simple interest), now we got input as 2 (Time).
Conclusion:-
So, if simple interest as Rs. 500, then the value of Time will be 2 years.
Objectives- To aware the students about the steps to create a Form.
Procedure-
Step 1- Select forms. Then select Wizard option.
Step 2- Select the table "Employee". Select all Fields. Then click on Next option.
Step 3- Click on Next.
Step 4- Select the arrangements. Then Next.
Step 5- Select any one of these. If you select first option, then only new data or record will be entered. Old data of the table "Employee" will not be displayed.
If second option will be selected, then old data will be displayed and you can enter new data also.
Here we will select second option. Then Next.
Step 6- Select Style and Field Border. Then Next.
Step 7- Type the name of Form. then Finish.
Result - Open form and you can see already entered four records are available. you can add new Records also. These will be displayed in Table "Employee".
ASSIGNMENT 6-
CREATE REPORT USING WIZARD -
Create a Report from Customers table.
Objectives- To aware the students about the steps to create a Report.
Procedure-
Step-1 Create table "Customers"
Step 2- Click on Report.
Step 3- Select option "Use Wizard to create Report".
Step 4- Select Table "Customers".
Step 5- Select all fields for report. Then Next".
Step 6 - Select CustomerID for Ascending order. Then "Next".
Step 6- Select Layout of data. Ten "Next".
Step 7- Type the title for Report.Then "Finish".
Step 8- Now the following shows Report.
Refresh time to time this link (POST) to get more assignments.
Note: Please Paste Outputs at the Left side (Blank page) of your Practical Copy.
Assignments for PART B (UNIT-3) (DIGITAL DOCUMENTATION) ................................................................................... Assignment 1: Your school has a document enlisting names of school students who have passed this year and taken admissions in further courses. You have to edit the document with the following changes. (a) The name Shilpy has been misspelled as Shilpey in several places in the text. Using Find and Replace, correct these mistakes. Objectives:- To know and understand how to make correct using "Find and Replace option" in a document. Hardware and software required:- Computer system, Windows 7 and more (operating system), Open office Writer. Procedure:- Steps- 1. Open document and go to Edit menu and select Find and Replace option or press key combination (Ctrl + F). 2. Enter both wrong and correct word in the following window. Then click in Replace all button. Now the name Shilpey has been corrected as "Shilpy". Co...
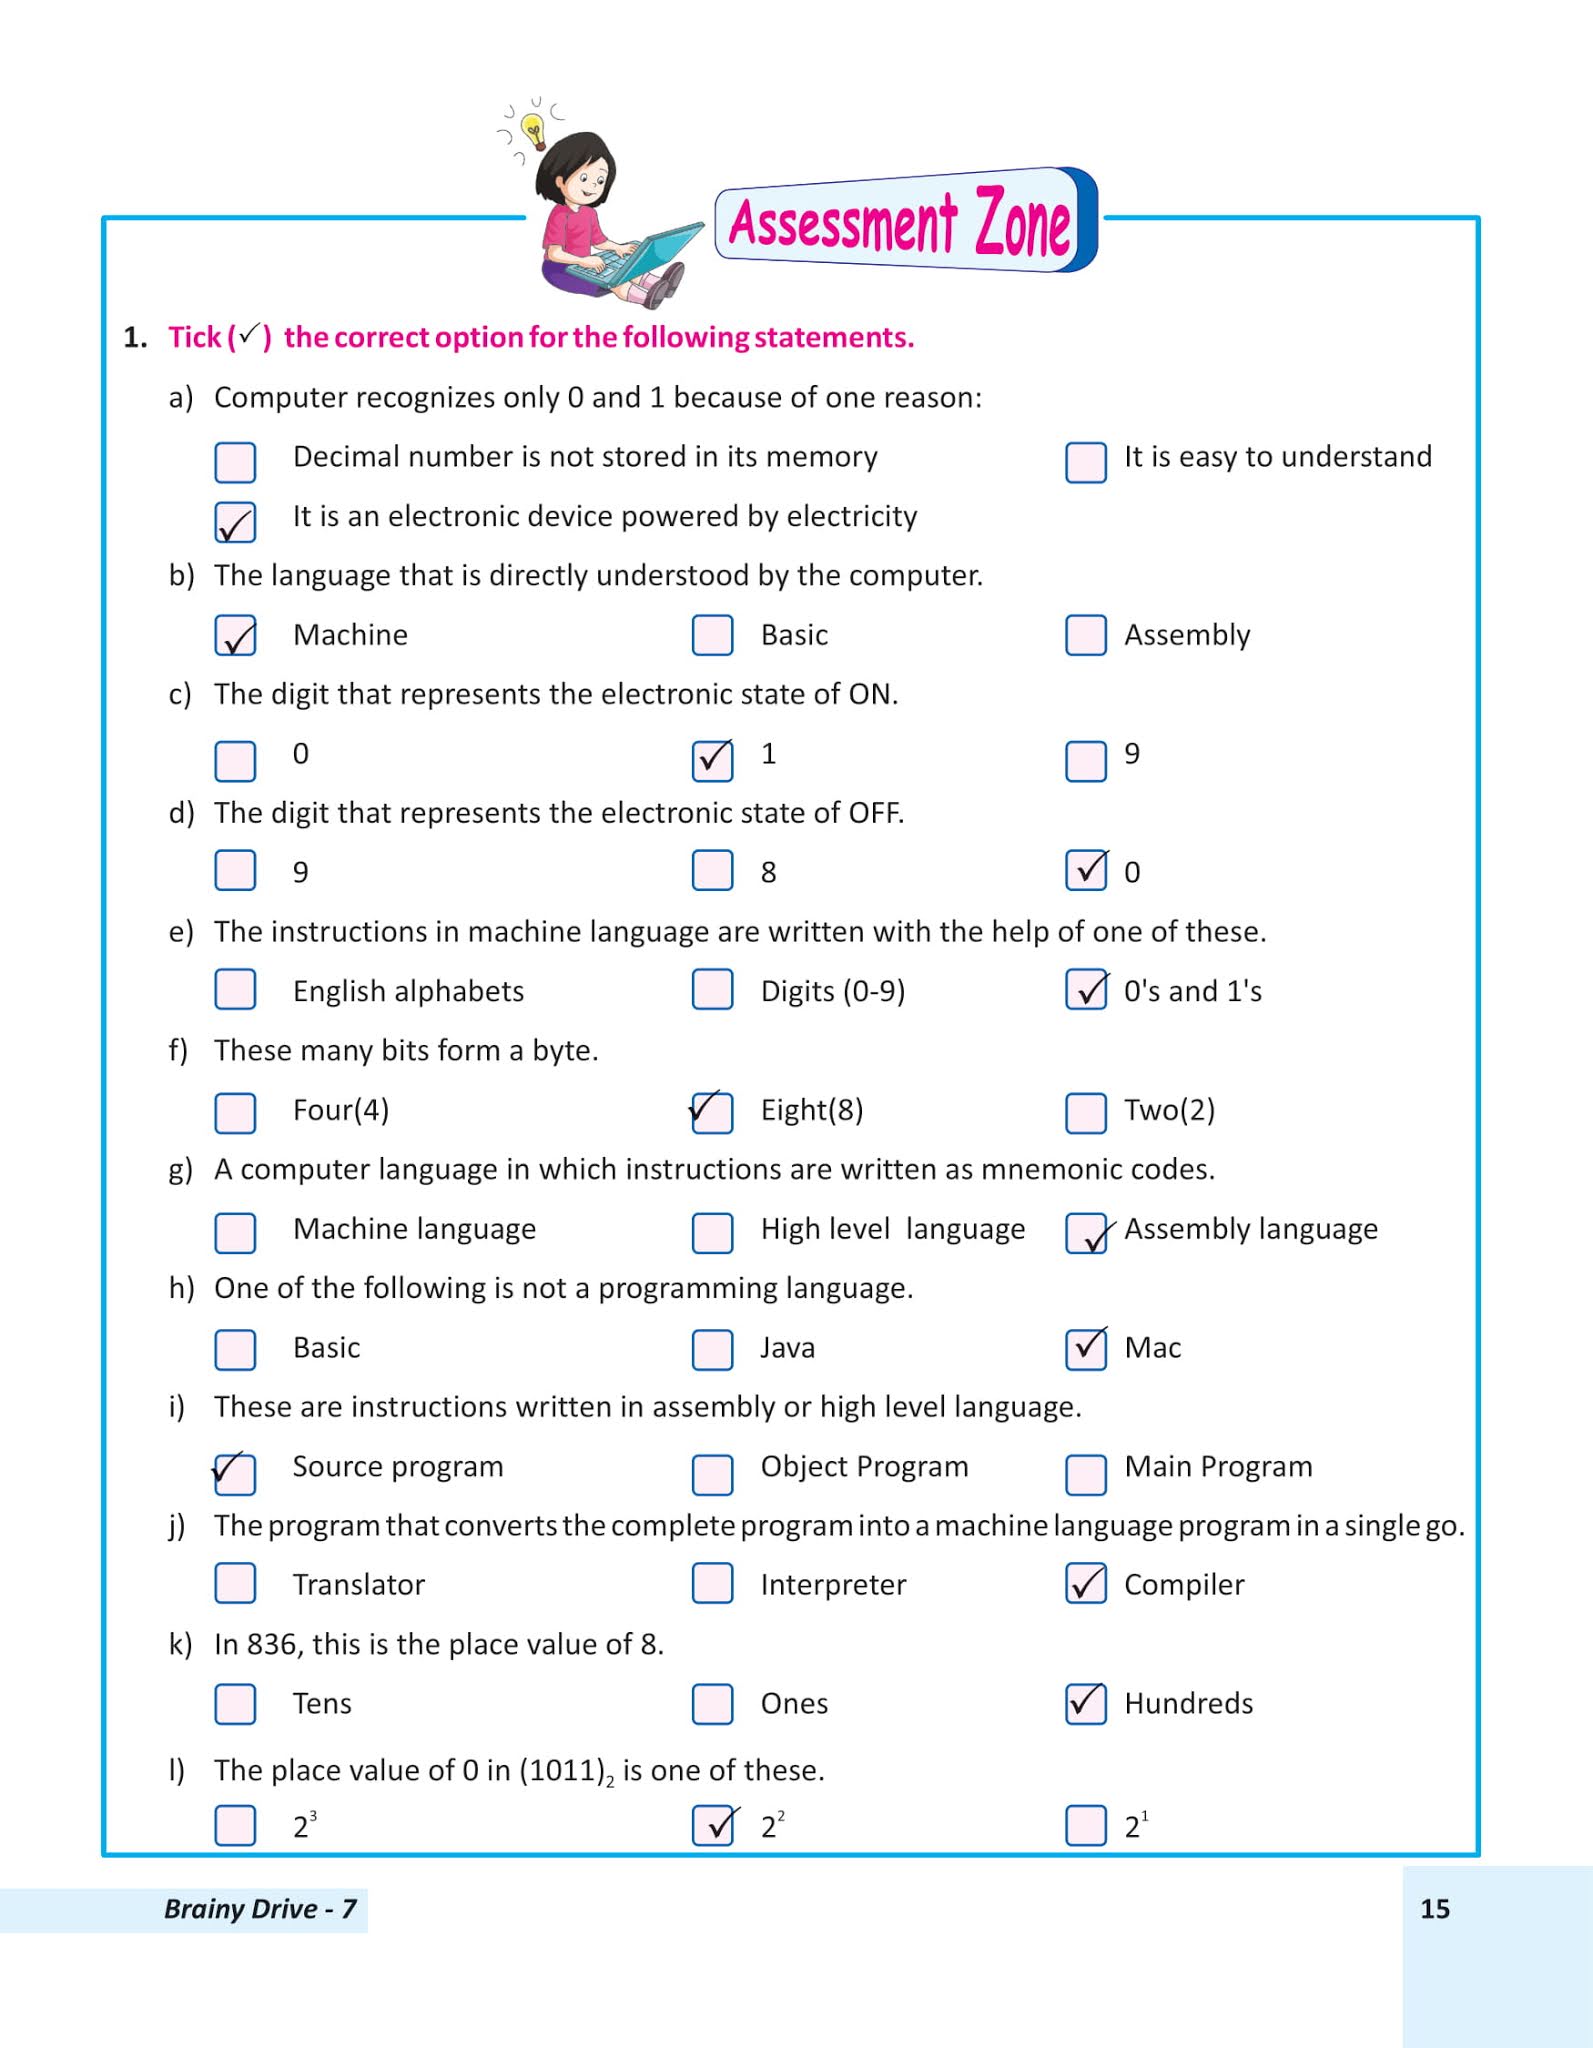
Book Work Ch-1 Ch- 1 (Computer Languages & Number System) COPY WORK Differentiate- a) Bit- It is the smallest unit of information. It consists of two binary digits, 0 and 1. Byte - The sequence of 8 bits is called byte. 1 Byte = 8 Bits b) Interpreter- An Interpreter is a program that converts the high level program into machine language line by line. Compiler- A Compiler is a program that translates a high level program into machine language all at once in one go. c)Low Level Language- High Level Language 1. It is hard to learn. 1. It is easy to learn. ...

.png)
.png)
.png)
.png)
.png)
.png)
.png)
.png)
.png)
.png)
.png)
.png)
.png)
.png)

.png)
.png)
.png)
.png)


.png)
.png)
.png)
.png)
.png)
.png)
.png)
.png)
.png)


.png)
Comments
Post a Comment